
LED Lighting Beyond “Just Switch Bulbs”
 Kaushik Kyada
June 17, 2026
7 min read
Kaushik Kyada
June 17, 2026
7 min read
Switching to LED is the simplest energy upgrade any home can make. Using LED well is the more interesting project, and in a space of 200 or 300 square feet the lighting plan shapes a room as much as the furniture does. One bright ceiling fixture turns a tiny home into a storage closet after dark. A handful of small sources, placed with intent, makes the same footprint read as three separate rooms. This guide covers the numbers that actually decide a purchase, how to wire low-voltage strips on a 12V system, one worked example with a real battery budget, and what to check when a light flickers or buzzes.
Buy lumens, then check the efficacy
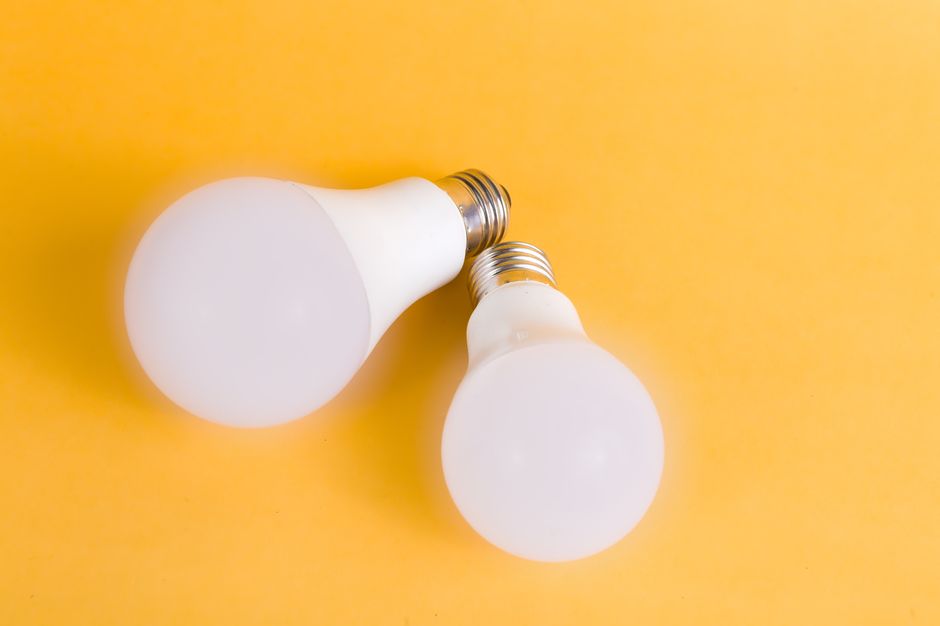
The habit of shopping for a 60-watt bulb dies hard, but watts measure electricity drawn, not light produced. The number you actually want is lumens, and the number you should compare between products is efficacy: the lumens you get per watt spent. Modern LED bulbs surpass 100 lumens per watt, against just 13 to 18 lumens per watt for the incandescent bulbs they replaced, and that gap is the reason off-grid lighting is even worth attempting. In practical terms, an ENERGY STAR omnidirectional LED draws only 5.9 to 10.5 watts to produce 800 lumens, the output of a typical room light, where the incandescent equivalent burned 60 watts for the same brightness.
For a tiny home on the grid this is a small utility saving. For a tiny home running on a battery bank it is the whole ballgame. Every watt you do not spend on light is a watt left for the water pump, the laptop, or the fridge. Write your lighting load in watt-hours per night, and the efficacy figure is what keeps that number small.
Layer the light instead of flooding it
A small room punishes a single overhead source. The fix that interior designers use in houses of any size works even better in a tiny one: give the space three kinds of light and switch them separately.
- Ambient: a soft, even wash so you can move around safely. In a tiny home this can be a single recessed or surface puck near the center, kept dim.
- Task: bright, focused, close to the work. Under-cabinet strips over the counter and a reading light at the loft bed do more for daily life than any ceiling fixture.
- Accent: low, warm light that sets a mood and hides the box shape of the room at night. A strip tucked behind a shelf lip or under the bench toe-kick costs almost nothing to run.
The point is control. When each layer has its own switch or dimmer, a 250-square-foot cabin can feel like a bright kitchen, a quiet lounge, or a bedroom without moving a stick of furniture.
Reading a spec sheet: color, quality, and real lifetime
Two bulbs with identical lumen ratings can look nothing alike, so three more numbers on the box matter. Color temperature in kelvin sets the mood: roughly 2700K for a warm living space, 3000K to 3500K for a kitchen or bathroom where you want things to look crisp. Color rendering index (CRI) describes how honestly the light shows color, and ENERGY STAR-qualified lamps must have a CRI of 80 or greater and are rated to last 25,000 hours. That lifetime figure carries extra weight in a tiny home, where a fixture is often boxed into a loft ceiling or behind cabinetry that you really do not want to dismantle twice a year.
Lifetime for an LED is not the moment it dies, either. ENERGY STAR notes that LED products produce light up to 90% more efficiently than incandescent bulbs, and defines an LED’s rated lifetime not as burnout but as the point where light output has dropped by 30 percent. A good LED fades slowly rather than failing suddenly, which is worth knowing before you assume a dim strip is broken.
Wiring low-voltage strips on a 12V or 24V home
Strip lighting is where a tiny home earns its off-grid keep, because it can run straight off the battery bank without an inverter. Common low-voltage LED strip runs on 12V or 24V DC and draws about 4.4 watts per foot, and manufacturers advise sizing the power supply at 80% load, leaving a 20% headroom margin to prevent overheating. If your home already has a 12V system, you skip the inverter losses entirely and wire the strip through a fuse and a switch.
Two quick rules: budget 4.4 watts for every foot of strip, and never load a driver past 80 percent of its rating. A 60-watt supply is a 48-watt supply if you want it to last.
Because the voltage is low, wire resistance shows up fast. Long runs on thin wire cause voltage drop, which reads as a strip that is bright at the feed end and dull at the far end. Keep runs short, feed power to the middle of a long strip, or step up to 24V, which halves the current and the drop for the same power.
A worked example: one 24-foot cabin on 12V
Say you are lighting a 24-foot tiny home wired for 12V DC. The plan: 8 feet of warm strip under the kitchen cabinets for task light, 6 feet of accent strip along the loft edge, and two 800-lumen puck-style LED fixtures for ambient light in the main room.
The strips draw 14 feet times 4.4 watts, about 62 watts at full brightness. The two pucks add roughly 9 watts each at the high end of that ENERGY STAR range, so about 18 watts more. Full load is close to 80 watts, but you almost never run every layer at full. A realistic evening might be the accent strip plus one puck for three hours, then task lighting for one hour of cooking. That lands near 250 watt-hours a night, which is comfortably inside a modest lithium bank and would have been hopeless with incandescent bulbs drawing four to five times the power. For the strips you would choose a driver rated around 80 watts so the 62-watt load sits at the recommended 80 percent, and you would fuse each circuit close to the battery.
Buy for the 2028 standard, not the old one
Efficiency floors are still rising, so a cheap bulb today can be below tomorrow’s minimum. Current federal Department of Energy standards require general service lamps to reach at least 45 lumens per watt, with the threshold rising to roughly 120 lumens per watt on July 25, 2028. The practical takeaway for a tiny home is simple: favor products already near or above 100 lumens per watt. They cost a little more, they will still be legal and stocked years from now, and they shave the most off your battery budget.
When it goes wrong
Most LED complaints trace back to a short list of causes, and almost all are fixable without replacing the light.
- Flicker on a dimmer: the dimmer is probably a legacy phase-cut model meant for incandescent loads. Swap it for an LED-rated or DC dimmer that matches your strip and driver.
- Bright end, dim end: voltage drop on a long low-voltage run. Feed power to the center, shorten the run, use thicker wire, or move to 24V.
- Buzzing or a hot driver: the supply is overloaded. Recheck the 4.4-watt-per-foot math and confirm you are under 80 percent of the driver rating.
- Gradual dimming over years: expected behavior, not failure. Remember the 30 percent lumen-depreciation definition of lifetime before you tear out a fixture.
- Radio or cell interference: a cheap driver with poor filtering. Replace it with a quality unit rather than living with the noise.
Frequently asked questions
Do I need an inverter to run LED lights in an off-grid tiny home?
Not for low-voltage strip and puck lighting. Those run directly on 12V or 24V DC from the battery bank through a fuse and switch, which avoids inverter conversion losses. You would only need an inverter for standard screw-in AC bulbs, and even then the DC strips are the more efficient choice for a battery-powered home.
How much strip lighting can one power supply handle?
Multiply the strip length in feet by about 4.4 watts to get the load, then choose a supply whose rating leaves that load at or below 80 percent of capacity. For example, roughly 14 feet of strip draws about 62 watts, so an 80-watt supply keeps you within the recommended headroom and running cool.
What color temperature works best in a small home?
Warm light around 2700K makes a compact living and sleeping area feel larger and calmer, while 3000K to 3500K suits the kitchen and bathroom where you want colors to read accurately. Pairing a CRI of 80 or higher with those temperatures keeps skin tones and food looking natural rather than washed out.
Kaushik Kyada
Keep reading

Choosing Low-Energy Appliances Without Overspending
A grounded buyer’s guide to refrigerators, induction cooktops, washing machines and small kitchen tools for tiny homes.
Tiny-Home Kitchen Appliances That Fit and Last
A tiny kitchen forces real choices about the fridge, cooktop, and oven long before you cook your first meal in it. The…

Small-Home Water Saving That Actually Adds Up
The handful of changes that meaningfully cut a small home’s water bill, ranked by effort and effect, without the moralizing.